Final Project Crafts in Costumes & Props:
The Demogorgon
Crafts in Costumes & Props was a second-level design class taken in the fall semester of 2024. This class taught us various crafts and techniques, including using thermoplastics and foam, casting, and molding.
Our final project required us to create our own wearable, usable costume props. We could choose from a list of props or submit our own ideas. I decided to submit my proposal for a Demogorgon head inspired by the hit show Stranger Things.
Planning & Patterning
Before I could start crafting the Demogorgon mask, I needed to create a variety of maps and patterns that I could follow along the way.

Initial researching, planning, and map sketches.

Close up of the initial elevation map.

Map of teeth placement rows.

Some math I did when creating the pattern to scale.

Pattern after mapping out with math and made to full scale.

The final pattern once the edges were rounded out.

Copy of the pattern divided into each petal.
Thermoplastic Structures
For this project, I used Fosshape for the five petals and Varaform for the basic structure. These are flexible materials that, when you add heat, can be manipulated and shaped.

Tracing the pattern onto the Fosshape.

A petal cut out of Fosshape, secured on a ham with glass-headed pins, ready to be hardened with a heat gun.
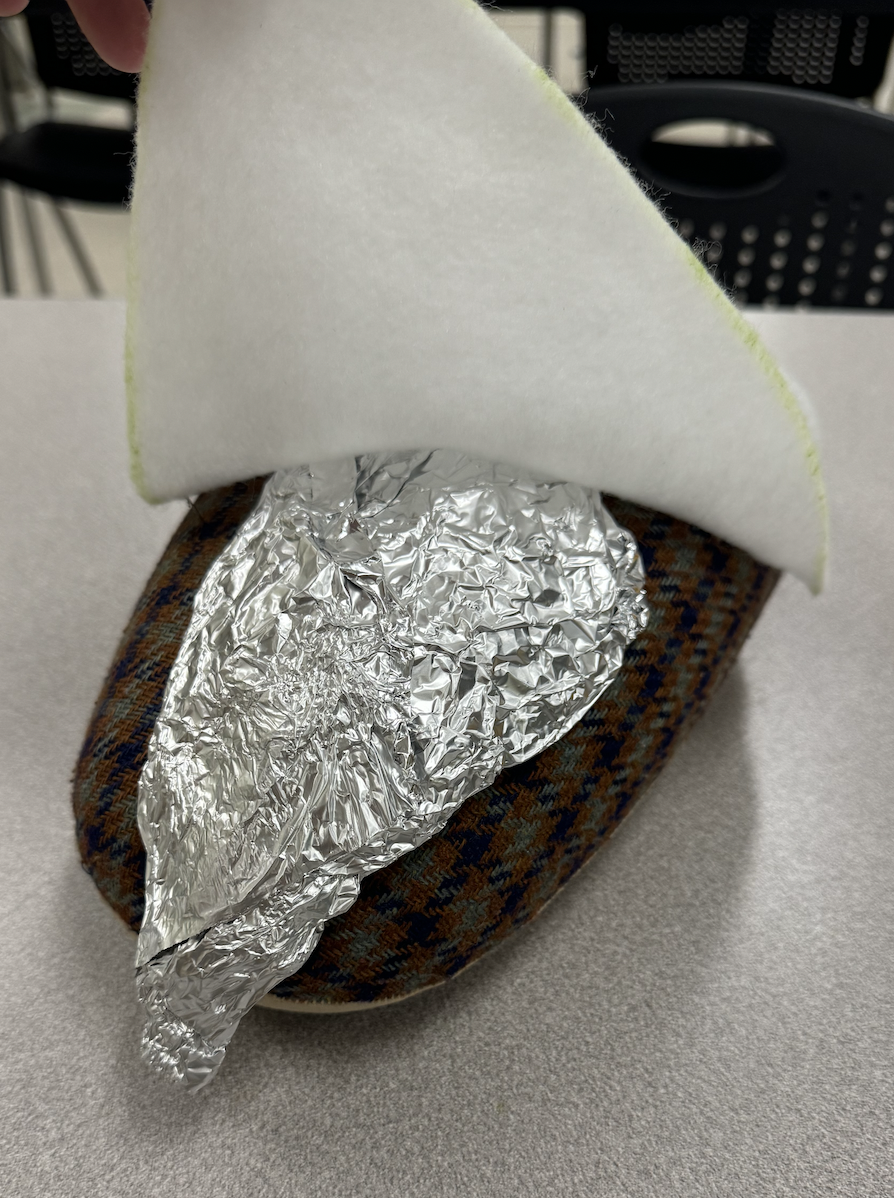
For the largest petals, I needed to create a longer structure out of aluminum foil.

All five petals were cut out and heated in their planned resting point.

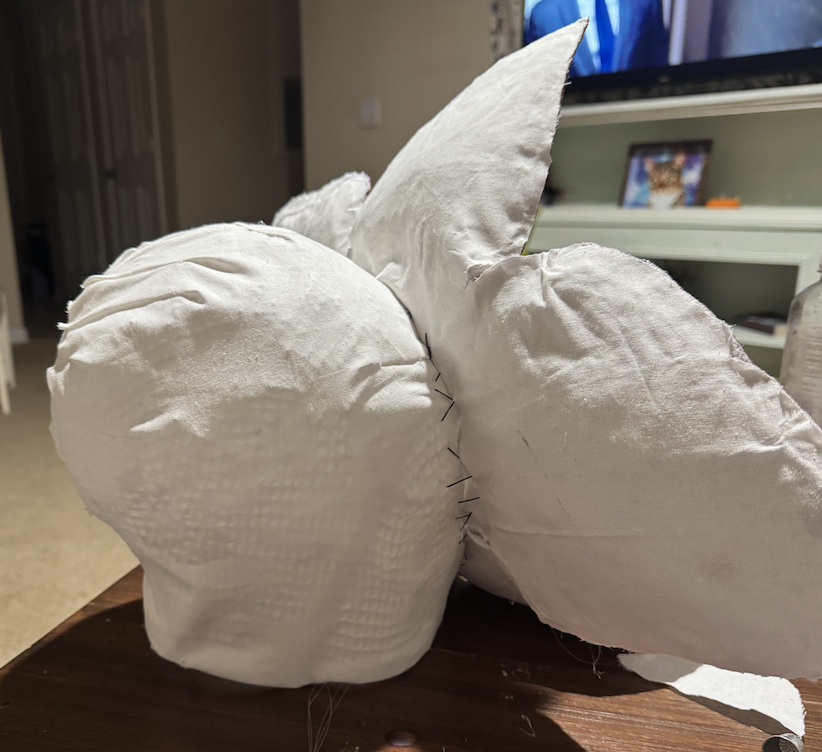
The inner hard structure fit to my head with aluminum and Varaform modeled on a styrofoam head.

Testing out if my structure will fit my head (covering my hair with pattern paper so it didn't get caught on my hair).

Nearly complete Varaform structure on my model Jess Fields.

Varaform structure with face hole cut out, most edges were encased in bias tape.

The final version of the Varaform Structure before married to the petals piece.
Creating the muscle Build-ups
The “muscles” or built-up areas were created out of Sculpey air-dry porcelain clay. Once they were dry they were glued onto the Fosshape petals.

Creating a map for the muscle build-ups (red) on the petals.

Largest petals' muscles drying on a paper plate.

The medium petals' muscles drying on a paper plate.

The small petal's muscle build ups drying on a paper plate.

The face hole's build up drying on a cutting board.

Plan for teeth placement (black) on the Fosshape petals.

All muscle build-ups ups secured to the petals.

All muscle build-ups and the face hole build-up are secured in a held-up position.
Painting/ Sealing
Once everything was created and accounted for, it was time to move on to painting the petals and attached muscles.

First, I bought four different variations of glossy red paint. This shows the tests for all four on thin sheets of air-dry porcelain clay.

This is a piece of hardened Fosshape with two different base layers. The top two marks have a base layer of Crystal Gel and the bottom two marks have a base layer of fabric Mod Podge.

After deciding the fabric Mod Podge created a better desired result, I added two layers to the petals.

Base layer of a glossy bright red paint.

Basic shading with a dark red and light brown mixture.

More in-depth shading with a black and dark red mixture.

Finally, I added two layers of glossy Mod Podge to the entire petal structure.
Creating the Teeth
This final version of this project ended up using 243 teeth on the petals. There were 360 teeth created in total. The teeth were made out of Sculpey porcelain air-dry clay.

First, I rolled a small bit of clay into a ball.
Then I tore off an even smaller piece and rolled it to make it more conical shaped.

After the first night of making teeth (37).

Roughly about half of the total teeth that were completed.

My friends helped create the remaining teeth at our "Teeth Party". Alyssa Gordan, Me, Barbara Zboichyk, Ella Drymon

All 360 teeth completed.

Preparing to hand-sew some teeth onto the balaclava base.

12 teeth hand sewn onto the balaclava base.

Pins marking where the teeth would be super glued on.

All 243 teeth are secured to the petals.
Final Details
After the petal layer was completed, I needed to marry the base layer and petal layer together. I also decided to give the petals a glossier, more mouth-looking finish.

A thin, hot gluing layer was added to the entirety of the petal layer to make the surface appear wetter.

Attaching the lining fabric to the petal layer.

The backside of the lining fabric on the petal layer.
The base and petal layers are sewn together as one.

Side view on the two layers sewn together.

Outer fabric layer.

Close-up of the face hole with both the balaclava and petal layers.
Putting the Demogorgon head on my model, Jess Fields.

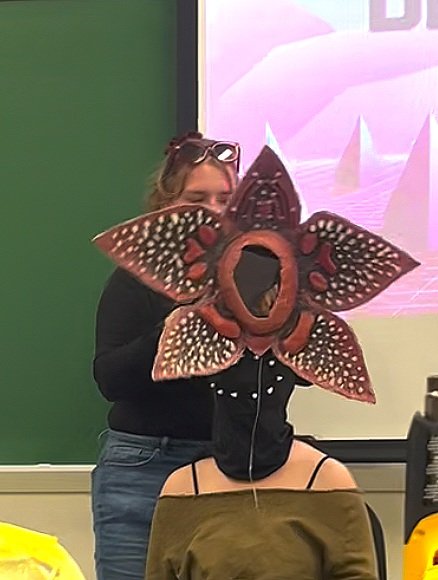
Presenting my final project as my friend Jess models the head.

I posed for a picture once all final presentations were complete. Photobombed by Dr. Gina Grandi.